Ever run into problems with a VHD that ran out of space?? I did just yesterday, and found a couple of solutions for that problem. Here are two ways of dealing VHD size issues .

Methode 1:

Using 3rd part tool “VDH Resizer”

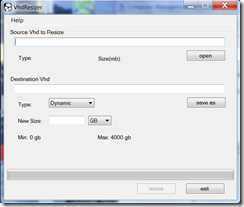
image Download and install VHD Resizer.

http://vmtoolkit.com/files/folders/converters/entry87.aspx

image Open VhdResizer and point to the file you VHD you want resized.

Choose a location to put the new file, and choose a new size.

The resizing process might take a while, but be patient, it will be worth the wait.  

When the resizing is done start a the virtual pc with the new VHD

image Open computer management
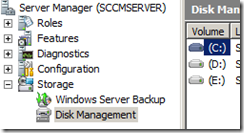
image Expand Storage and click on Disk Managment.
image Note that the extra space you just created still sits as unallocated space.
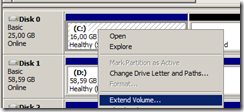
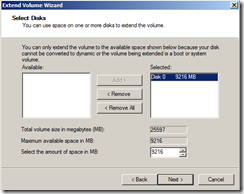
image Right click the active disk and choose Extend volume
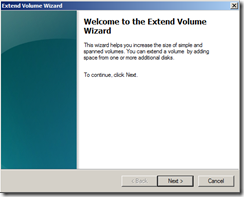
image Click Next
image If you want to use the entire amount of added space just choose default settings and click Next. 
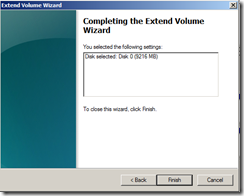
image Click Finnish
image You will now notice that the disk now uses the entire volume.

Methode 2:

Using Microsoft  ImageX. (on Windows 7)

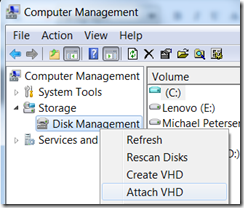
image Open computer management on your local computer.

Expand Storage, right click  Disk Management and click on Attach VHD.

Note: This is also a nice way to add and remove files from your VHD’s
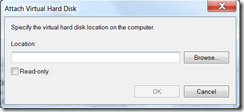
image Point to the VHD in question.
image Notes that the VHD has now been added as a disk (in this case I:)
image Run Deployment tools command prompt with administrative rights
image Capture an image of the VHD:

imagex /capture I: C:\NewVHD.wim "disk1" /compress max

image The VHD has now been captured as a WIM image.
image From Disk Management click Create VHD
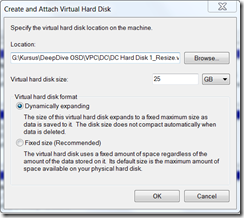
image choose a location to put the VHD, and the size you want it to be…

Click OK

image There will now be a new Unknown disk with the size you just choose.

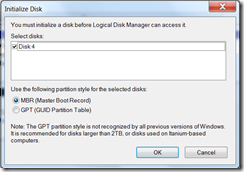
Right click and click Initialize Disk

image click OK
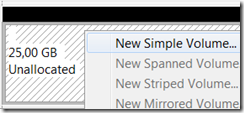
image Right click the volume and choose New Simple Volume
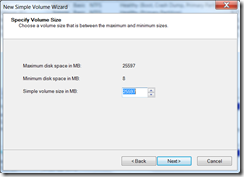
image Click Next
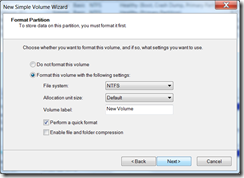
image Choose default to use the entire volume.

Click Next

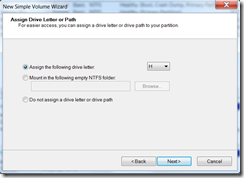
image Choose a drive letter and click Next
image Click Next
image Click Finish
image Note that there now is a new Volume with a drive letter assigned (in this case H).
image Open Deployment Tools Command Prompt as Administrator
image to ad the image you captured earlier to the new VHD, type

iamgex /apply C:\newVHD.wim 1 H:\

image After a while the image will have been applied to the VHD.
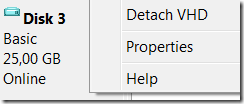
image From Disk management, right click the VHD disk and click Detach VHD. 
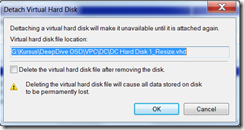
image Make sure “Delete the virtual hard disk…” is NOT checked

Click OK


There you go. Two methods of changing the size of your VHD’s