Generally I always use the append method of capturing my images (MDT’s ZTIBackup.wsf will do that for you, as explained here). This allows me to store multiple versions of my production image in the same image file.
The biggest benefit of storing multiple images in the same wim file is of cause utilization of the single storage capabilities, as each file is only stored once, hence, space requirements for storing images are less.
One problem though, is the amount of images, or INDEXES in the wim. First of it can be kind of messy if you have lots of index files in the .wim, and, on top of that the .wim file actually grows with more than the amount of files added to it.
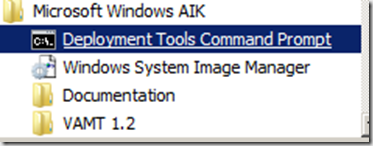
The following are a couple of examples on how to clean up and size reduce wim files. All examples are run from the WAIK Deployment Tools Command prompt, in elevated mode.
Remove/delete indexes
Removing indexes from your wim will not reduce the size of the image, just make it more pretty to look at (using imagex /info anyway and Properties from SCCM). When you delete an index, all indexes with a higher number will decrement by one, so if you have a wim with 6 indexes, and you remove index 4, index 5 will become the new 4 and index 6 will be 5 and so on.
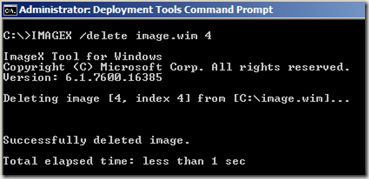
navigate to the folder holding your wim, and type IMAGEX /delete .wim “Index nr”.
IMAGEX /delete image.wim 4
Compress and remove indexes
To reduce the size of the image it needs to be recaptured to a new . wim file. This can be done by using the EXPORT command of imagex.
Compress the entire image and all its indexes
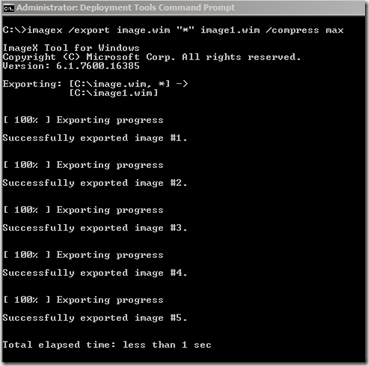
to just compress all the indexes in a .wim, and remove excess stuff, run an export of all indexes to a new .wim . The syntax: IMAGEX /export .wim “*” new.wim /compress max
Imagex /export image.wim “*” image1.wim /compress max
Extract needed indexes and compress
If all you need are some of the images in the .wim, you can export those specific index files to a new .wim file. In the process you can also change the index name to give you some more info on what the image contains.
Let’s say that all we need is the two last images (index 4 and 5) than we export those to a new .wim, and the will become index 1 and 2.
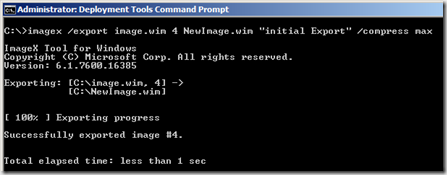
The syntax: IMAGEX /export .wim “index nr” new.wim “name” /compress max
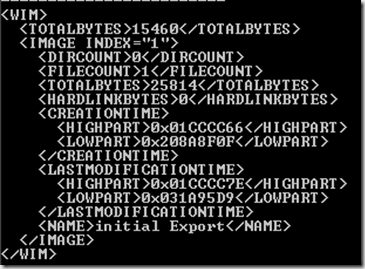
imagex /export image.wim 4 NewImage.wim "initial Export" /compress max
Image contained in index 4, is now the new index 1 in NewImage.wim, and is named Initial export
Now do the same for index 5, which will become index 2 in the NewImage.wim
imagex /export image.wim 5 NewImage.wim "second Export" /compress max.
finally all there is left to do is import the new image into Config.Mgr, or rename it to the same name as the old (obviously removing the old .wim first), and then reload the image.
