Follow this simple guide to get your Office 2016 deployment up and running with SCCM 2012 R2
First we need to download the Office 2016 Deployment Tool from Microsoft
You can find it here
Run the tool and install it to a location of your liking, I choose e:\temp\Office 2016
When you look in that folder you’ll find a setup.exe and a sample configuration file.
Download the content
In order to download the Office 2016 installation files, we first need to create a download file
So fire up your favorite text editor and enter the following
<Configuration><Add SourcePath="e:\temp\office2016\x64 EN" OfficeClientEdition="64" ><Product ID="ProPlusRetail"><Language ID="en-us" /></Product></Add></Configuration>
Save it with the name “download x64 en.xml”
Now start a command prompt and navigate to the folder where you installed the Office 2016 Deployment Tool
Now run this command: setup /download “download x64 en.xml”
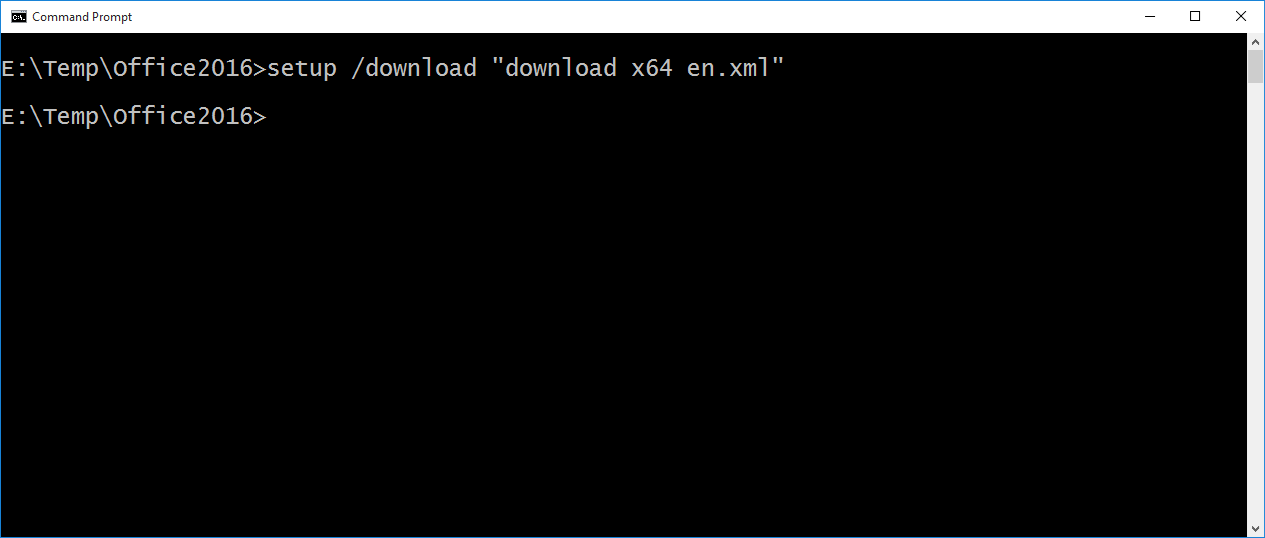
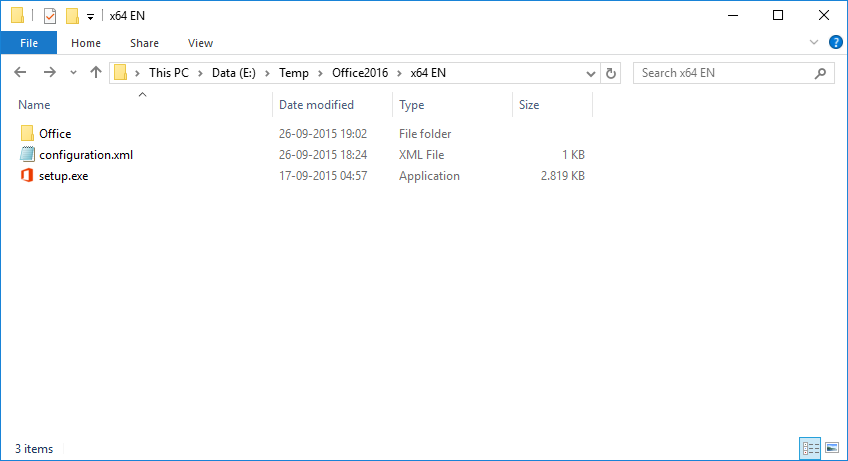
When the program is complete you’ll have a new folder called x64 EN in your folder
Now copy the file “download x64 en.xml” and rename the new file to “download x86 en.xml”
Open the new file and change the content to match the following
<Configuration><Add SourcePath="e:\temp\office2016\x86 EN" OfficeClientEdition="32" ><Product ID="ProPlusRetail"><Language ID="en-us" /></Product></Add></Configuration>
Save the file and run this command: setup /download “download x86 en.xml”
When program is complete you’ll have additional folder called x86 EN
If you, like me, use a language that is not English, you can download localized versions of Office 2016 like follows
Download the localized version
Like before copy your “download x64 en.xml” and rename the new file to “download x64 da.xml”
Open the file and change the content to match the following
<Configuration><Add SourcePath="e:\temp\office2016\x86 DA" OfficeClientEdition="64" ><Product ID="ProPlusRetail"><Language ID="da-dk" /></Product></Add></Configuration>
Save the file and run this command: setup /download “download x64 da.xml”
When program is complete you’ll have additional folder called x64 DA
Configuration files for Office 2016
Copy the “setup.exe” to the folder where you downloaded the Office files, a copy for each folder.
So now your folder looks something like this

In order to have SCCM do a silent and unattended installation of Office 2016 we need to create a configuration for setup.exe
Again fire up your favorite text editor and create a file like this
<Configuration><Add OfficeClientEdition="64"><Product ID="ProPlusRetail" PIDKEY="XXXXX-XXXXX-XXXXX-XXXXX-XXXXX"><Language ID="en-us" /></Product></Add><Display Level="None" AcceptEULA="TRUE" /></Configuration>
You can leave out the PIDKEY value and use alternate methods of activation, but I assure you XXXXX-XXXXX-XXXXX-XXXXX-XXXXX will not work J
For the other folders make sure that you change the values marked in bold
Now your folder looks like this
This is exactly the content needed to install this particular version of Office 2016, so it is perfect to be deployed as a deployment type for an application in SCCM 2012.
Installation using SCCM 2012
Okay let’s get down to some deployment business … fire up your SCCM 2012 Console
Start the Create Application Wizard
Select “Manually Specify the application information”
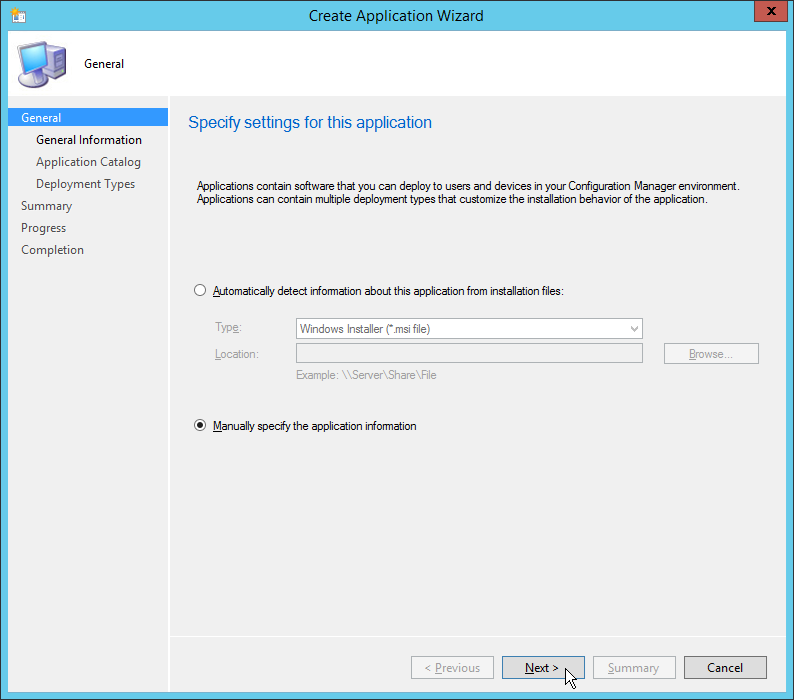
Enter the name, I used “Microsoft Office 2016”
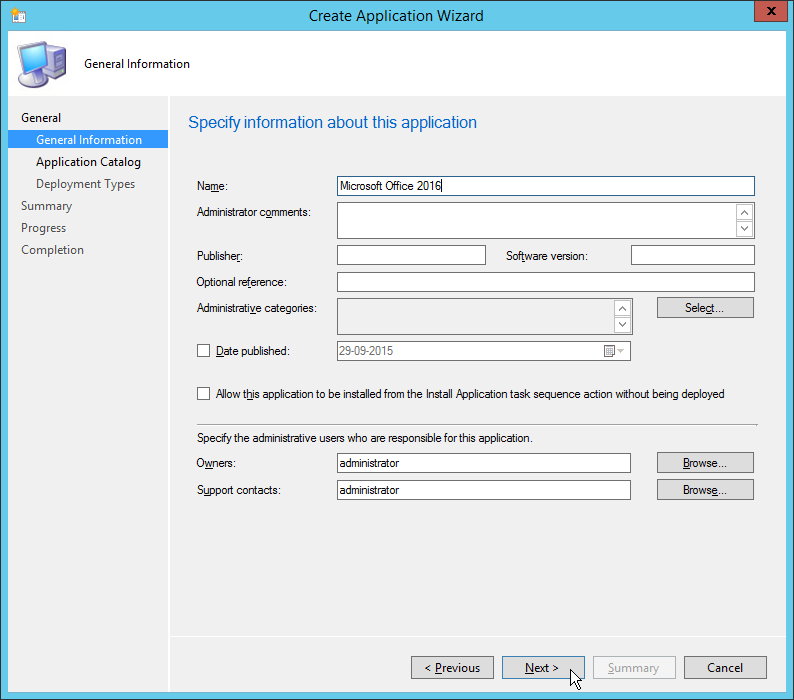
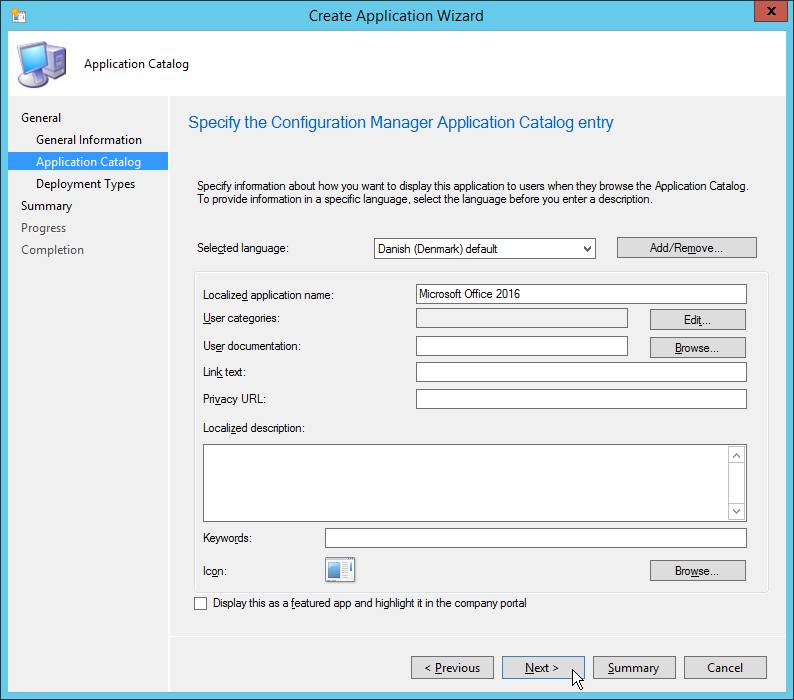
Just click next …
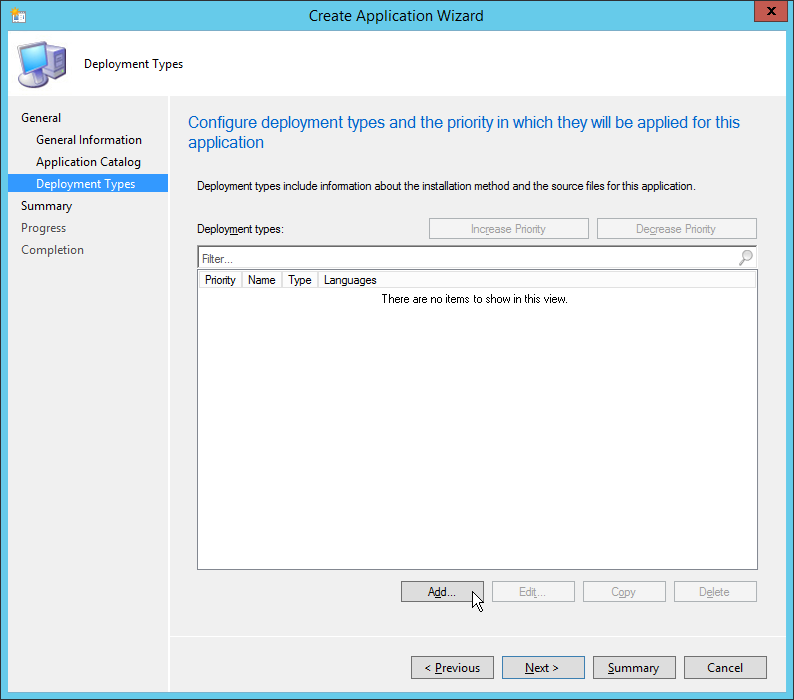
Click Add… to create a deployment type
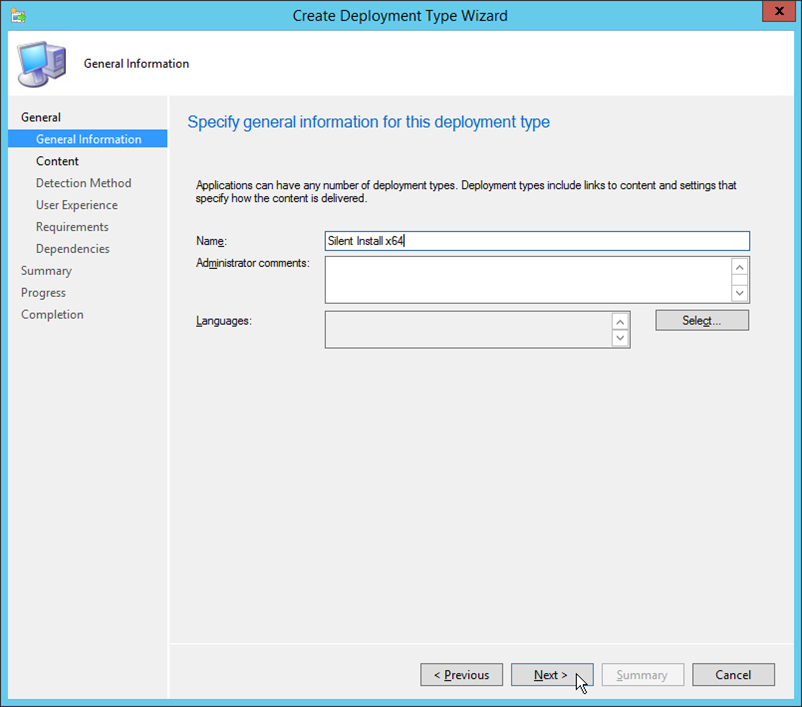
Select “Manually specify the deployment type information”
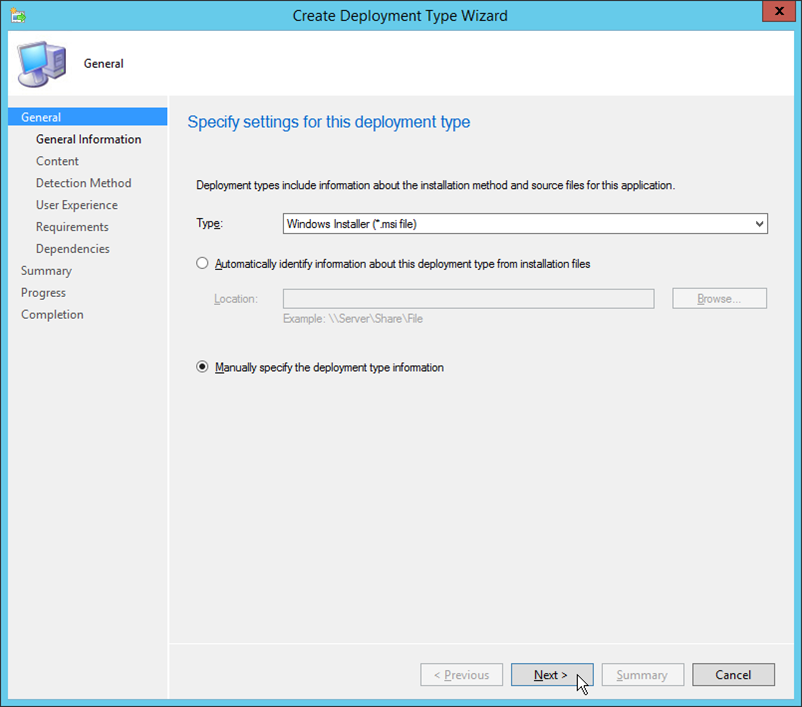
Enter a name for the deployment type, I like “Silent Install x64”, sounds a bit like ninjas and stuff
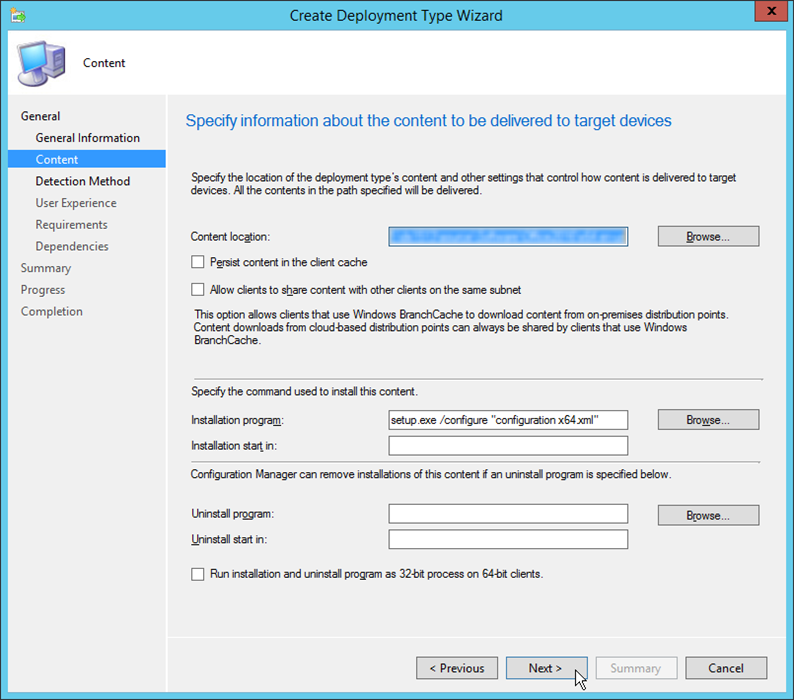
Specify the location of your source files
Enter the following as Installation program: setup.exe /configure “configuration x64.xml”
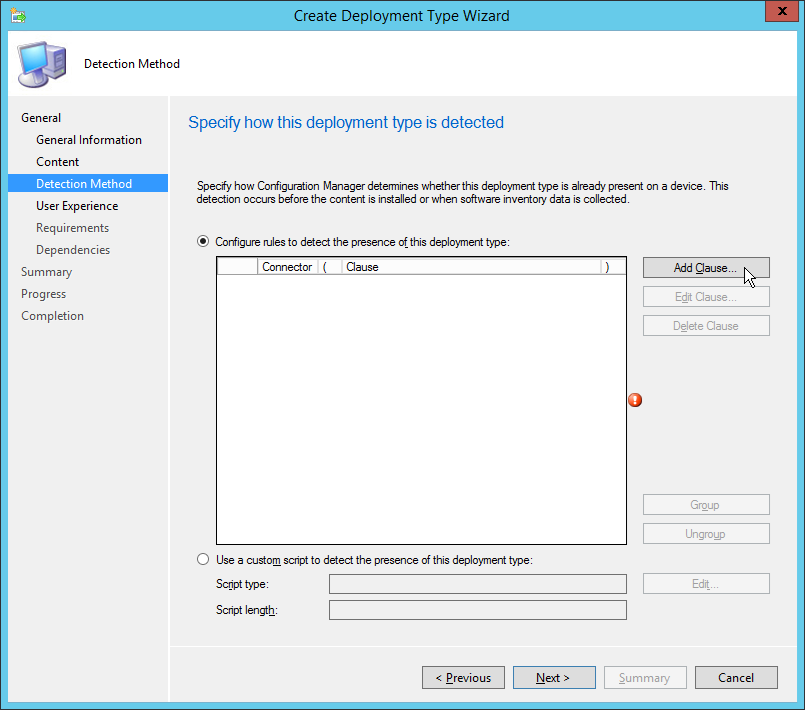
Click Add Clause to add a detection rule
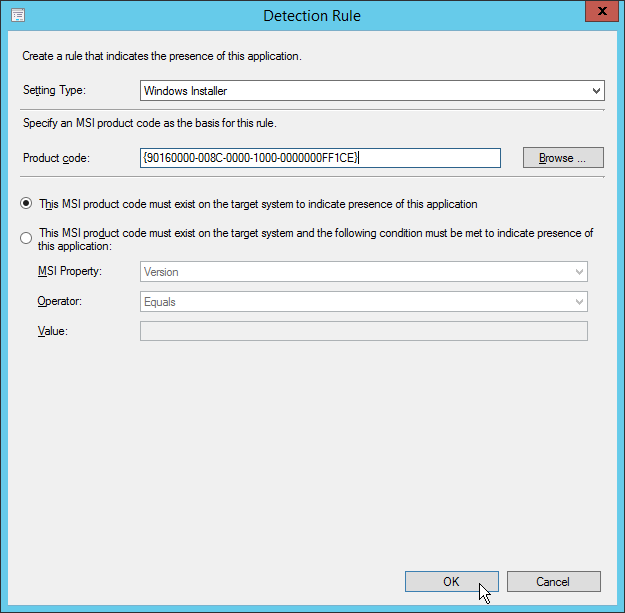
Select Windows Installer and use {90160000-008C-0000-1000-0000000FF1CE} for the product code
Technically it is the product for the “Office 16 Click-to-Run Extensibility Component” but it does the trick.
All done for the detection method

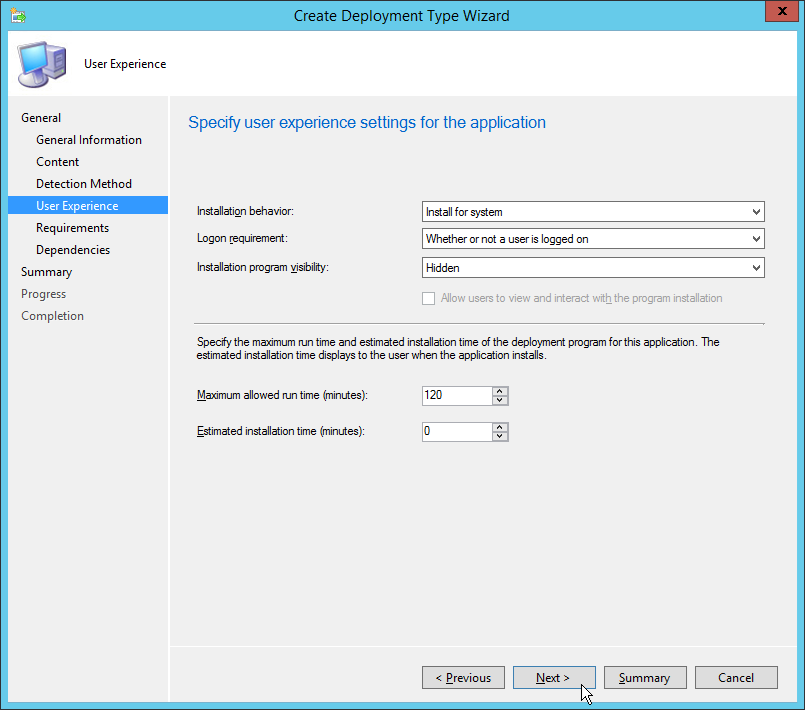
Set whatever user experience you like, again I like stealthy ninja deployments.
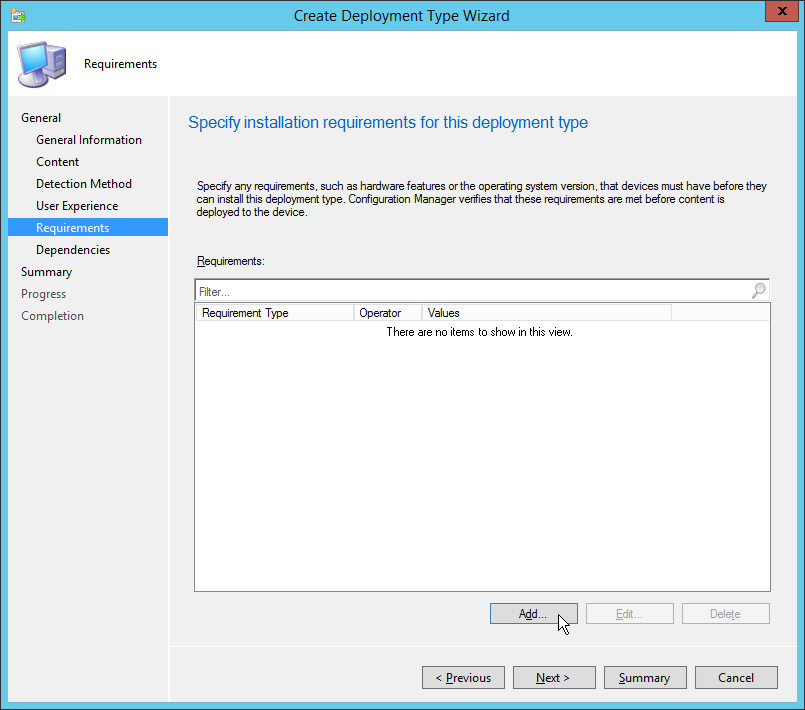
We also should add a requirement for x64 OS, just in case.
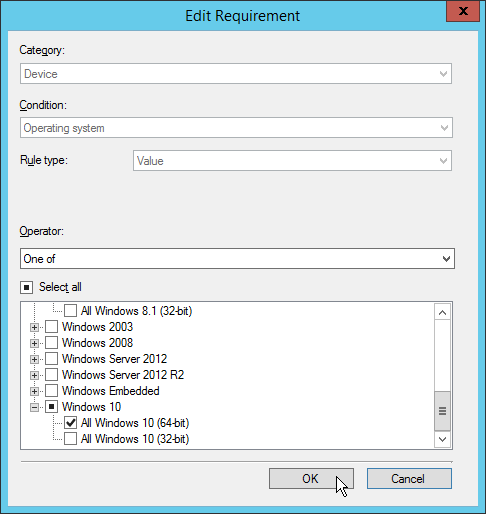
Select the x64 operating systems you support.
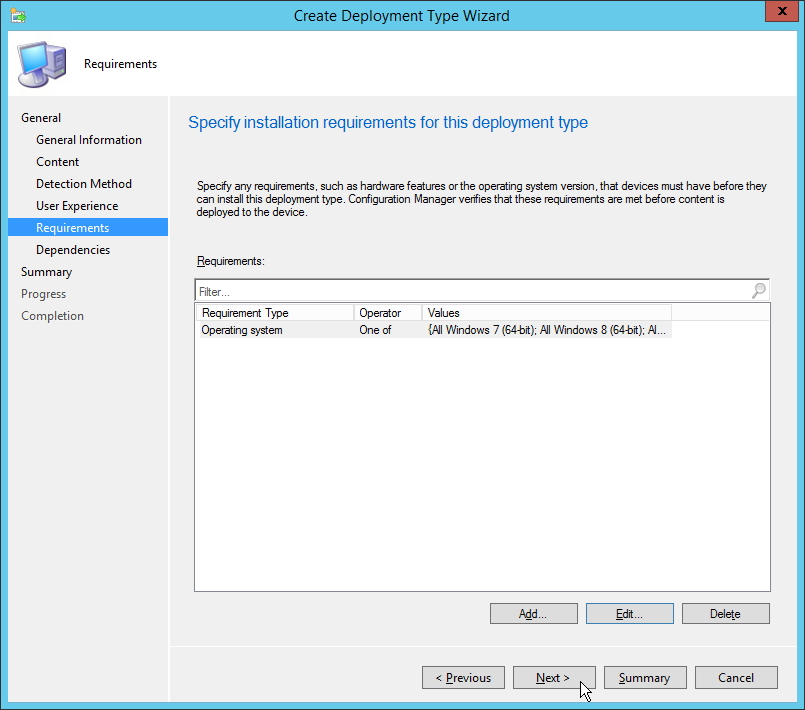
All done here
And here
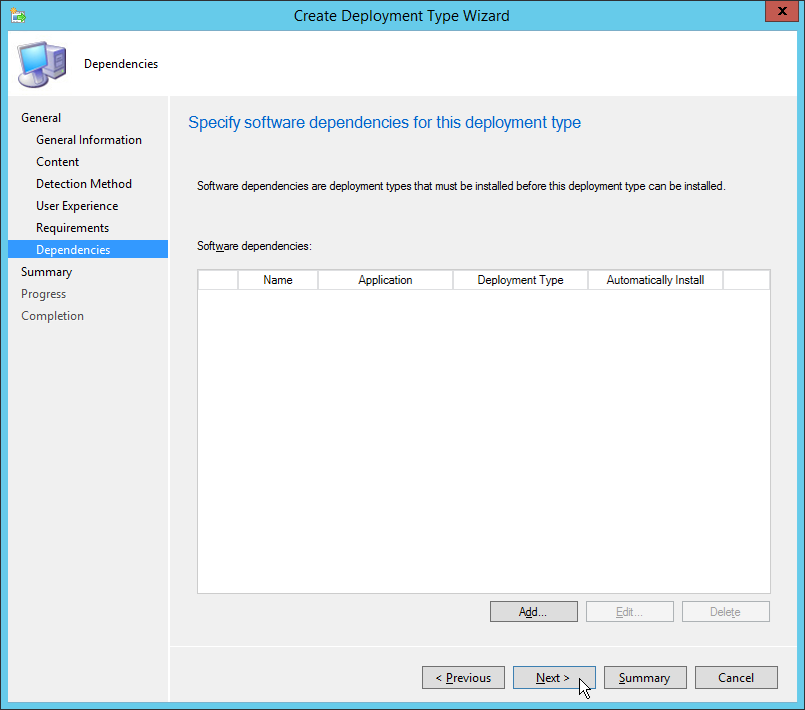
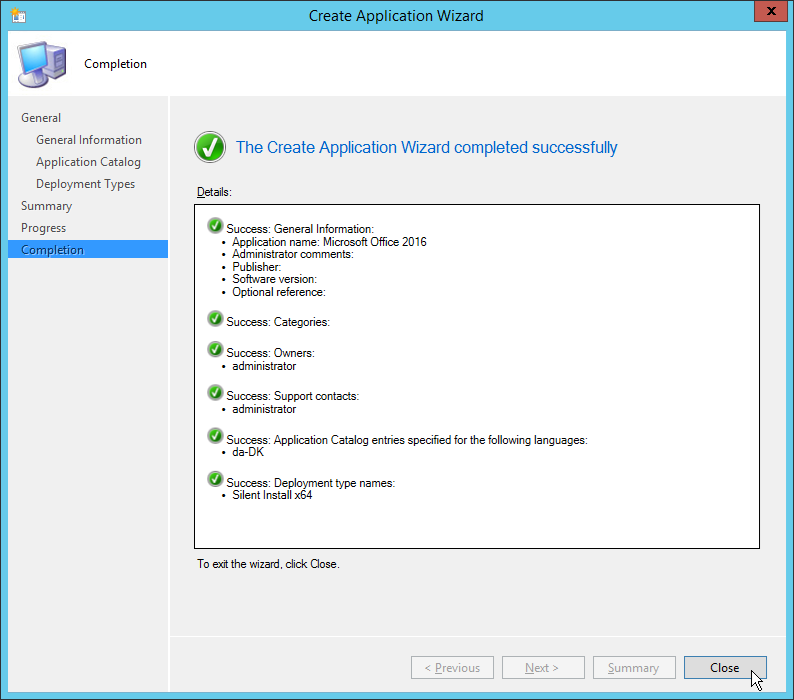
Let’s summarize a little
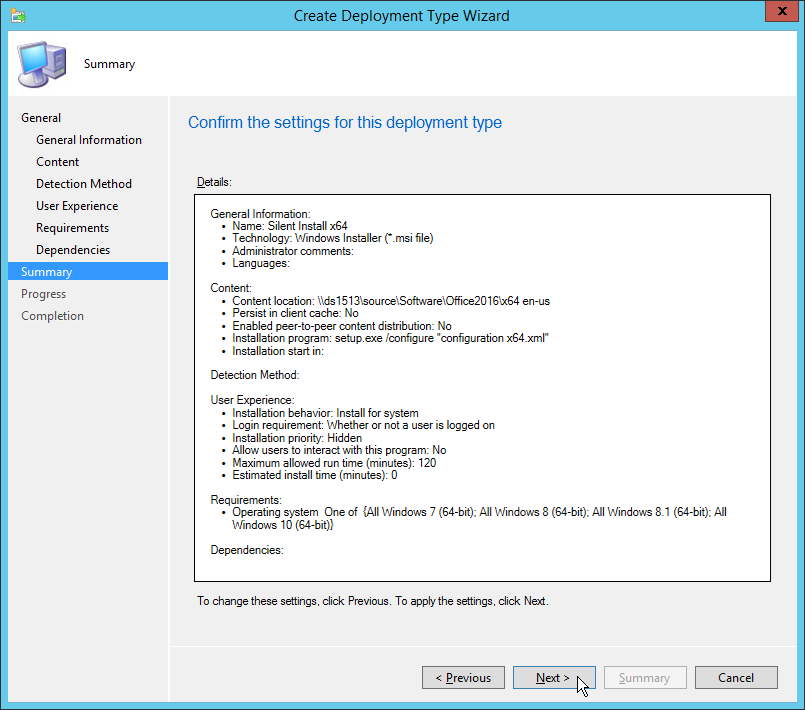
Almost done …
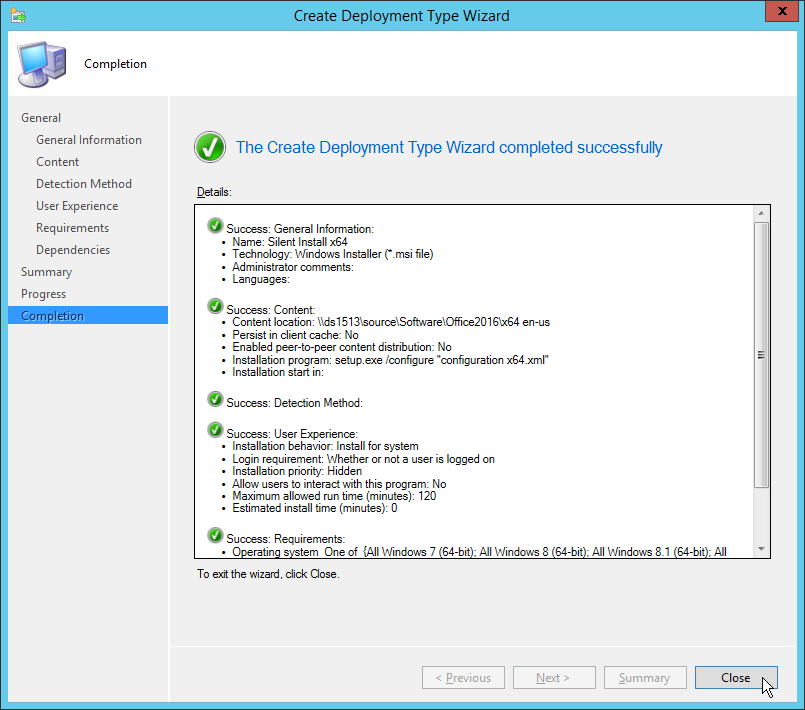
But not yet …
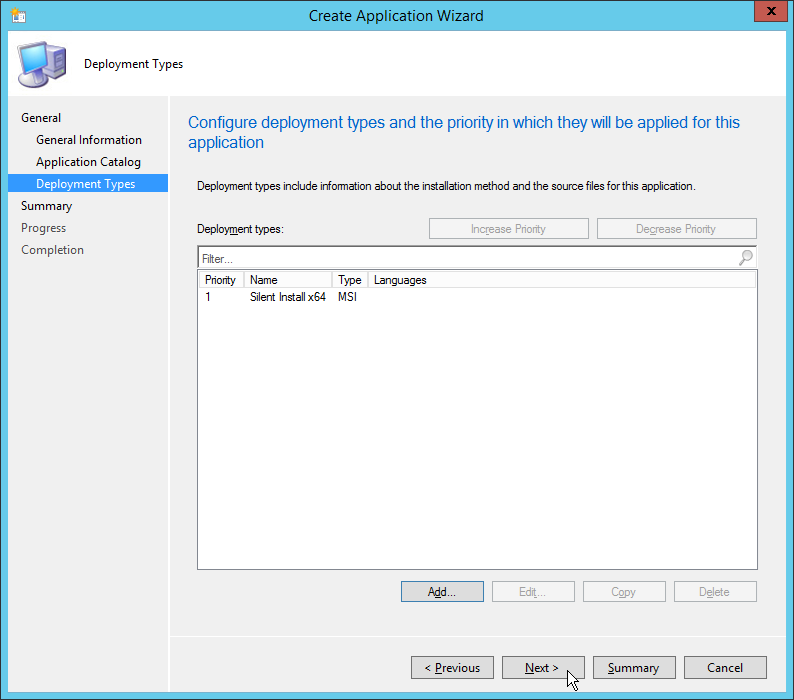
Okay if this was a Youtube video I would do some fast forward magic to save your time…
Now all that remains is to distribute and deploy …


[…] Pour plus d'informations: http://blog.coretech.dk/rja/deploying-office-2016-with-sccm-2012/ […]
first you make a file called configuration.xml, and later you setup the app using a filename of configuration x64.xml (setup.exe /configure “configuration x64.xml”). which is it?
thanks
Hi Wayne, sorry for the late reply but we had some issues getting notifications from our blogsite.
The filename “changed” during the writing of the blog, because I have a file for x86 and one for x64 Office, but the content of “configuration x64.xml” is the same as “configuration.xml”
Hope that clears it up.
/Ronnie
Good stuff. I have tried and it really worked but only problem i have faced is that i am unable to install Office 2016 on the systems which already have Office 2013 installed.Need help in that regard.
Yes that is one of the downsides of the “click2run” installer of Office 2016, you could fix this by doing some script-magic to uninstall Office 2013 before installing Office 2016 – I’d use Powershell Application Deployment Toolkit
/Ronnie
I found /configure did not work. It needed to be setup.exe /config
According to the output from setup.exe /? it is /configure, are you perhaps using the MSI version of the installer?
Office Deployment Tool
SETUP [mode] [path]
SETUP /download [path to configuration file]
SETUP /configure [path to configuration file]
SETUP /packager [path to configuration file] [output path]
SETUP /help
/download Downloads files to create an Office installation source
/configure Adds, removes, or configures an Office installation
/packager Produces an Office App-V package from an Office installation source
/help Displays this message
How would you do it, if you needed many different msp-files for different departments?
As far as i remember, you cannot use .MSP files with the Click-to-run installer, which is used in this blog post.
If you need to use MSP files, you would need to use the MSI version.
You can only do the basic configuration via the XML file, if you need to configure your settings for word, outlook eg you need to use Group Policy, when using the Click-to-run installer.
Thanks for your blog,
I’m trying to install Office using the offline data but still the setup goes out to the internet and starts downloading a full content again. I have a full content download offline available I even have specified the source data location in the configuration xml file and still goes online to download. if I disconnect my network connection the setup stops and complain that I have no internet connectivity.
any idea’s
Thanks In advance.
Please make sure you are using the right setup.exe to run the installation. Pay attention to the size of the file. There is one version that will only download Office files, and the other will both download and install.
Hey,
Thanks so much for posting this.. although, when I go to run the installer, I get a “Couldn’t Install” error with code: 30088-1021 (0)
Any idea what this is?
Thanks!
Rob
All the errors everyone is getting are not due to having O2013 installed, but for actually having one or more O2013 application running. If you manually close the applications the deployment will complete. Not much automation there though if you have to still do things manually.
So (although there still is ONE BIG down-side) the best way (unless you like vb scripts) to do this is using Task Sequence and push Taskkill commands (with continue on error checked) for every one of the possible O2013 application the user may have open.
At the end just add the command (not sure which the quotation marks are around the .xml file … I am not using them according to MS), and trust me all will work just fine.
!!!The down-side: what do you do if the user is actually in the middle of editing a document or spreadsheet. You must take this in consideration too.
Has anyone tried pushing just the .xml file? Would users just get prompted while their applications are open that there are updates/upgrades for their Office suite? If so, how many of you have actually seen a user closing manually all office applications when selecting to update, because if they don’t do it, the update will not happen even if they click on the popup tab “Close Programs”.
The only true best way to do this is to schedule this at start-up, PRIOR to logging in.
You can also do all of this without using the XML’s. Just navigate to the drive/directory Office 2016 is on, and run setup.exe /admin. You can then just configure all of these settings within the Office Customization Tool. Once you have everything configured, just place the .MSP file into the “updates” folder.
This guide is for the Click to Run version, the version you have is the MSI version where setup.exe /admin is a working option. The Click To Run version does not have the /admin option. Very confusing but that’s how it is.
If you are running a deployment in this fashion how would you remove the older version of office
That is not supported in the Click To Run version, only the MSI can do that. So you would need to do some scripting or similar to remove old Office products.
With this method, its going to download the full install to the CCM Cache and you’ll have to redownload the full install each month with the monthly update. You won’t be able to take advantage of CtR being able to only download the differential. This would be a HUGE hit on the network for a monthly release.
Unfortunately with Application model you cannot run the source from the DP either. So the only way I’ve been able to utilize the delta updates on monthly releases and CtR is by using the package model. Then I can run from DP and it’ll only download the differentials to the client. Sucks to have to use packages, but its the only way I’ve found until we get to 1511.
After it is installed, how do you create a detection query to build a collection of every PC that has it installed? I have been able to do this for Office 2013, but all my efforts for 2016 click to run have failed.
Very good Content to for easily Download and install office setup have searched so many webs for easily download and install Microsoft office setup easy and fast.
The perfect narration is a solution from life without any problems with illustrated and clear narration sharing. Continue to follow. It is difficult to find a detailed description of such problems in this way. Thank you.