In order to use a Windows Azure distribution point, you need a few things like a Windows Azure account, Access to internal DNS, a couple of certifcates and 45 minutes. The Azure distribution point can act as a fallback distribution point for your Windows clients and do support most content type. To calculate the cost for each Azure distribution point, checkout this Azure calculator http://www.windowsazure.com/en-us/pricing/calculator/?scenario=full.
What a Cloud-Based Distribution Point do not support
- ·Apple MAC OS X clients
- UNIX clients
- 3rd party Software updates thru the Windows Update feature
- Windows Updates
- Streamed Applications
- Task Sequences that are NOT configured with Download all content locally before starting task sequence
- PXE and Multicast
Create a Cloud-Based Distribution Point – The high-level steps
- Create a management certificate and install the certificate on the site server. The certificate only needs to be installed on the site server and will be used to ensure the trust relationship between the site server and Windows Azure.
- Create a cloud-based distribution point service certificate, and install the certificate on the site server.
- Create a Windows Azure trial account and import the management certificate in Windows Azure.
- Install a cloud-based distribution point in ConfigMgr.
- Configure the Client Settings to allow the ConfigMgr client to use the distribution point.
- Configure a host record in DNS with the IP address of the cloud-based distribution point in order for clients to download content from the distribution point.
Create certificates
Follow the steps described in this Microsoft Technet article – http://technet.microsoft.com/en-us/library/230dfec0-bddb-4429-a5db-30020e881f1e#BKMK_clouddp2008_cm2012 In the following steps I do expect that the certificates are stored in D.:\Setup\Certificates on the primary site server.
Create a Windows Azure Trial Account and Import the Certificate
- Log on to http://www.windowsazure.com and create a trial account.
- Log on to Windows Azure with your newly created account.
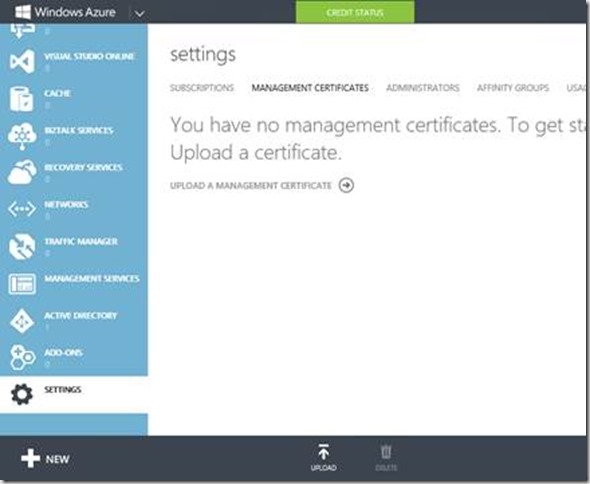
- Select Select Settings and click the Management Certificates link in the top of the page.
4. Click New Upload a Management Certificate – that will be the clouddp01.cer certificate.
Create the Cloud-Based Distribution Point
- Open the ConfigMgr console, select Administration Workspace / Hierarchy Configuration / Cloud Services / Cloud Disitrbution Points.
- On the ribbon, click Create Cloud Distribution Point.
- On the General page, type the subscription ID from your Azure account (you can find that in Settings). In Management Certificate, click Browse, select the D:\Setup\Certificates\clouddp01.pfx certificate, and click Next.
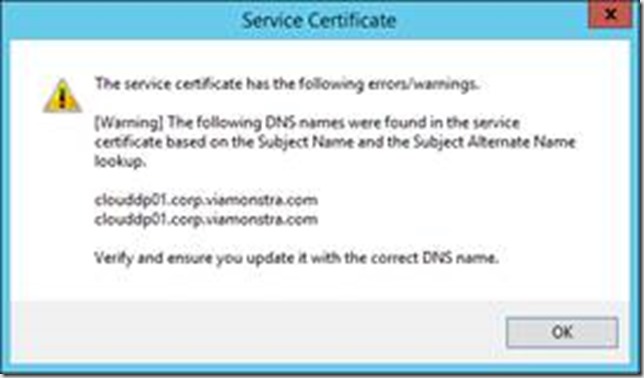
- On the Settings page, select East US in Region, click Browse, and import the D:\Setup\Certificates\clouddp01SRV.pfx certificate.Read the Service Certificate warning information, click OK, and click Next.
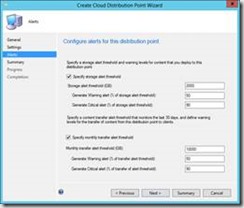
5. On the Alerts page, keep the recommended storage and transfer alert settings and click Next. Configure the expected storage quota and monthly transfer rate, and then finish the wizard.
6. Read the Summary page and click Next to start the configuration.Then, on the Completion page, click Close. Now it’s coffee time – and log time. The process can easily take 30 minutes or more. At this point you want to monitor the clouddpmgr.log for details.
Configure DNS
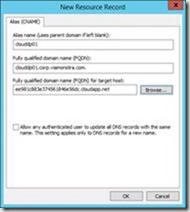
In order for the clients to download content from a cloud-based distribution point, they must be able to resolve clouddp01.corp.viamonstra.com to the cloud-based distribution point IP address. This is done by creating a CNAME record in DNS with the FQDN of the Windows Azure service. Information about the Windows Azure service name can be found in the Site URL in Windows Azure.
- Log on to Windows Azure, select Cloud Services from the left pane.
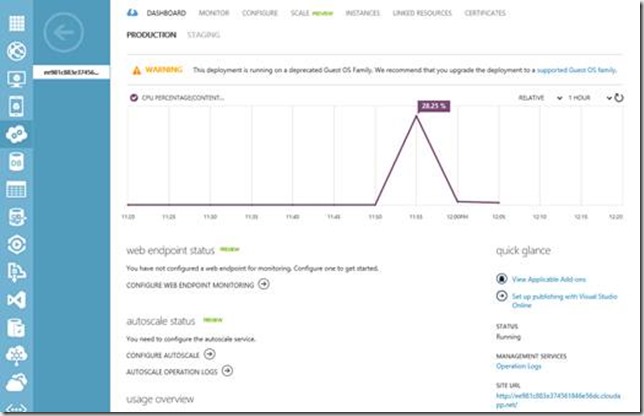
- From the list of cloud services, click the service name. This will open the cloud service dashboard. You can find the site URL information on the right-hand side of the dashboard. The site URL name is automatically created when you create the cloud-based distribution point. Copy the GUID.cloudapp.net.
- On your DNS server, open the DNS console and create a new CNAME record. For Alias name, type clouddp01.
- In Fully qualified domain name (FQDN) for target host paste the GUID.cloudapp.net information from Windows Azure and click OK.
The Deployments
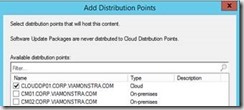
Content is deployed to a Windows Azure distribution point in the same manner as you distribute content to a on-premises distribution point. In this example Microsoft Skype is distributed to CloudDP01.Corp.Viamonstra.com and none of the On-premises distribution points.
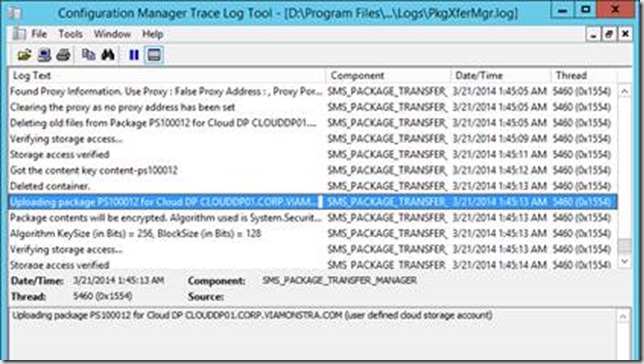
Monitoring the content distribution in pkgXferMgr.log
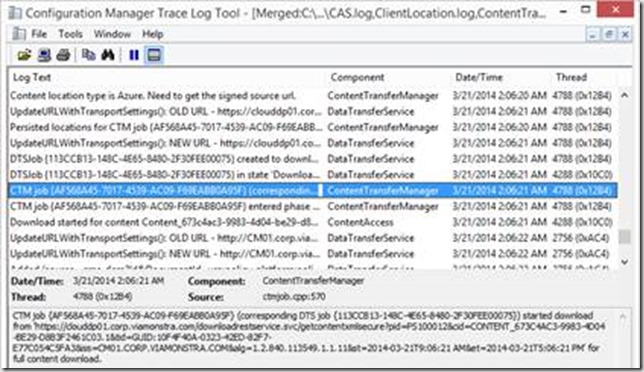
Application download on the client client be monitored by reading the ContentTransferManager.log


[…] Source: http://blog.coretech.dk/kea/configmgr-2012-r2-and-windows-azure-cloud-distribution-point/ […]
[…] http://blog.coretech.dk/kea/configmgr-2012-r2-and-windows-azure-cloud-distribution-point/ […]
Nice article. I guess the Price per 100GB is only $3-4 per month.
Nis
http://www.cloudchecker.dk/azure-storage-funktioner-og-priser.html
Is it possible to do a bare-metal installation with a Azure Cloud DP?