Earlier today Coretech released a brand new tool that we call Coretech WMI and PowerShell Explorer. For information about downloading and installing the tool checkout this blog post from Kaido Järvemets.
The tool has two main features, a WMI and a PowerShell explorer. This blog post will explain how you can use the WMI feature.
Working with Coretech WMI and PowerShell Explorer
Connect to the local computer Root\Cimv2 Namespace
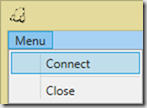
- Launch the Coretech WMI and PowerShell Explorer as Administrator. From the upper left corner, expand the Menu and click Connect.
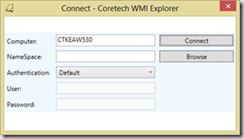
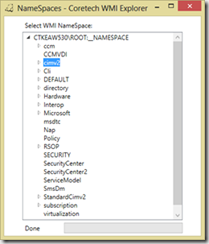
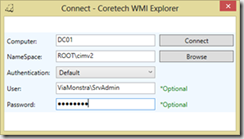
- In the Connect dialog box, type the Namespace or use the Browse button to browse for existing namespaces on the local computer. In the example you will connect to the Root\CimV2 namespace.
- From the list select Root\cimv2 and double click to add the namespace.
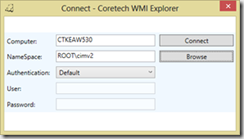
- Click Connect.
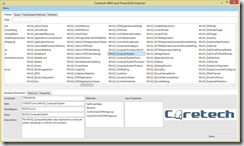
- With a successful connection you are now able to browse all the Root\cimv2 classes.
Connect to a remote computer
- Launch the Coretech WMI and PowerShell Explorer as Administrator. From the upper left corner, expand the Menu and click Connect.
- In the Connect dialog box, delete the existing computer name.
- Fill in the User name and Password
- Type the Namespace or use the Browse button to browse for existing namespaces on the local computer. In the example you will connect to the Root\CimV2 namespace.
- Click Connect to connect to the name space.
Notice: When connecting to a remote computer, some classes requires that you change the Authentication to PacketPrivacy. The 6 different Authentication levels:
- None – No authentication in performed
- Connect – Authentication is performed only when the client establishes a relationship with the application
- Call – Authentication is performed only at the beginning of each call when the application receives the request
- Packet – Authentication is required for all data received from the client.
- PacketIntegrity – All data transferred between the client and the application is authenticated and verified.
- PacketPrivacy – The properties of the other authentication levels are used, and all data is encrypted.
How to query information from specific WMI class
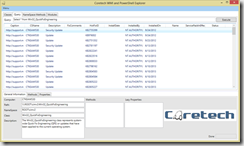
Once connected to a namespace, you can use Query tab to query the WMI class instances. In the example below a query will list all installed MSU updates listed in the Win32_QuickFixEngineering class.
- Connect to the Root\cimv2 namespace.
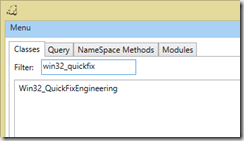
- In Filter type Win32_QuickFix or select the class from the list of classes.
- Select the class Win32_QuickFixEngineering class and select Query tab.
- Notice that the a query that will list all instances from the class is pre-created and ready to be executed (Select * from Win32_QuickFixEngineering).
- Click Execute to run the query and list the class instances.
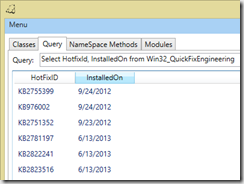
- By default * will return all columns, you can customize the query to return specific columns by typing Select HotfixId, InstalledOn from Win32_QuickFixEngineering
How to export out Query results
All results from a query can be exported to a CSV file.
- Execute a WMI query.
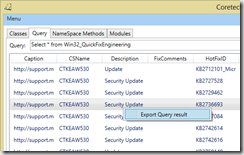
- Right click any instance in the query result and select Export Query result.
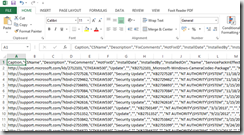
- The Export feature automatically creates a CSV file on the desktop.
How to export namespace methods
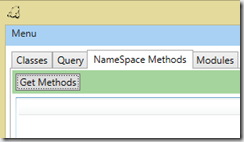
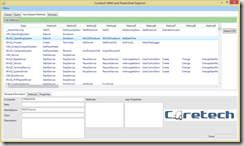
The Coretech WMI and PowerShell utility can also be used to export all methods from a namespace. In the example below all methods from the root\cimv2 namespace will be exported


[…] Coretech WMI & PowerShell Explorer–Using the WMI feature […]