This is a quick and dirty how-to guide as I have a couple of customer who have asked for the same – how to Install the CSI Plugin in order to Connect the Flexera CSI to your ConfigMgr/WSUS/SUP infrastructure where you get the ability to monitor 3rd party vulnerabilities and remediate any threats by patching or removing software. This is a great management tool addon to your WSUS/ConfigMgr infrastructure and is a must for a complete patch management solution.
If you are new to Flexera Software CSI I suggest you go to the following links where you can read up on the solutions
- Official Flexera Software CSI Site: https://www.flexerasoftware.com/enterprise/products/software-vulnerability-management/corporate-software-inspector/
- How it works: https://www.flexerasoftware.com/enterprise/products/software-vulnerability-management/corporate-software-inspector/tab/how-works
- Features: https://blog.ctglobalservices.com/?s=CSI
- Coretech Blog resources: https://blog.ctglobalservices.com/?s=CSI
Go to: https://csi7.secunia.com using IE with Administrative Privileges.
Login with your CSI User Name and Password.
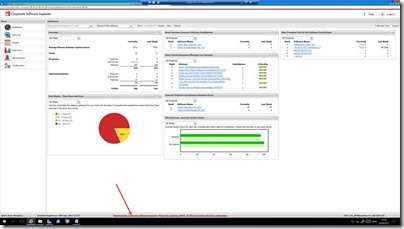
1. Download and install the CSI Plugin Setup by clicking on the link that POPs up in the bottom of the dashboard.
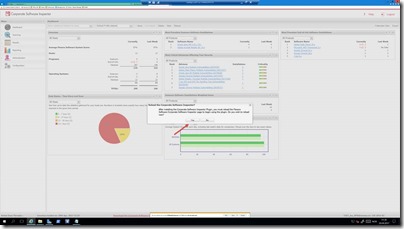
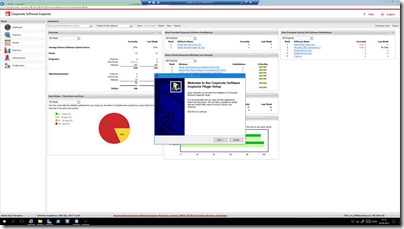
2. Run the installation.
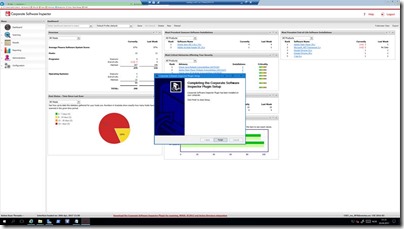
3. Install the plugin and click finish. Refresh the CSI Web console after installation. If prompted login again.
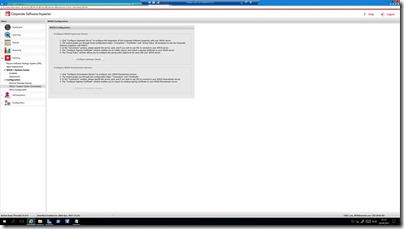
4. Go to Patches à Configuration à WSUS/System Center (Disconnected) and run the Configuration Wizard to connect your CSI environment with WSUS.
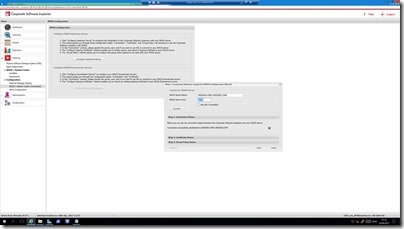
5. Specify WSUS Server (First SUP) and the Port number to be used. Click Next
6. Create the certificate and click Next.
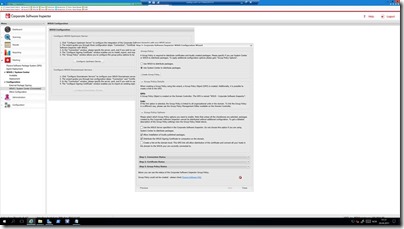
7. Choose “Use System Center to distribute packages” and modify the settings to match the below picture.
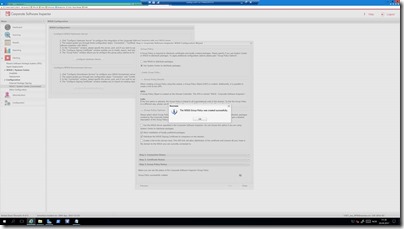
8. After the GPO is created. Click OK and then Close. Your environment is now connected.
Done. Next you will have to download the local agent and send it out with SCCM in order to retrieve information from clients about health and potential risk.
See how here: http://blogs.flexerasoftware.com/vulnerability-management/2013/07/how-to-run-secunia-csi-scanning-without-installing-the-csi-agent.html
Stay tuned for more posts. ![]()
And do not forget to leave a comment if you have any questions.
